The Beginner’s Guide to Glaze Testing: What, Why and How
Posted on - 4th December 2025
Glazes can be magical, unpredictable, inspiring and occasionally chaotic. If you’ve ever opened your kiln to a pleasant surprise or a complete mystery, you’ll be aware exactly why glaze testing matters. Potters of all experience levels take the time to test glazing results, ensuring they don’t put hours of hard work into a kiln only to end up with an unexpected finish.
Glaze testing isn’t complex, and a technical background isn’t needed to get started. It’s a methodical process to explore glaze colour, surface quality, chemistry and firing behaviour before committing it to a whole project. Learning how to test glazes properly enables you to understand their actual characteristics and maintain creative control.
Our guide will walk you through what glaze testing is, why potters depend on it and what to look for during the process.
What is Glaze Testing?
Glaze testing is the process of applying a glaze to test tiles, small pots, or pre-created sample pieces to evaluate their behaviour under specific conditions. Think of it as a very colourful scientific experiment!
A glaze test helps potters to understand:
- What colour does the glaze develop after firing
- How the glaze melts, flows, pools or breaks on texture
- Whether the glaze is glossy, satin, matte or crystalline
- How it interacts with other glazes or slips
- How multiple layers or application methods change the finish
- Whether it is stable, safe, or suitable for functional ware
For beginners, glaze testing is the gateway to achieving predictable, repeatable results, while experienced potters can use it as a playground for discovery.
Potters often use test tiles, simple clay strips or shapes made from the same clay bodies they intend to use in their work. Glaze samples are then applied, ranging from new recipes to those straight from the shop, such as powdered glazes or ready-mixed glazes, before firing.
How Do Potters Test Glaze?
Ask any potter, and they’ll have their own method to follow for glaze testing; however, the methodology tends to follow a similar pattern. You can think of it as a specific recipe for testing:
1. Making multiple test tiles
Potters create batches of test tiles or other shapes from the same clay body to ensure consistency. Tiles can be flat, curved, textured or even formed into a silhouette similar to your intended result, with each design revealing different behaviour.
2. Mark the tiles clearly
There’s nothing worse than achieving a beautiful glaze result and then not being able to identify it. Use stamps, carving, underglaze pencil or a marker to record the test code on each tile before firing, and make a note of what you’ve done to that tile elsewhere.
3. Mix or prepare your glaze
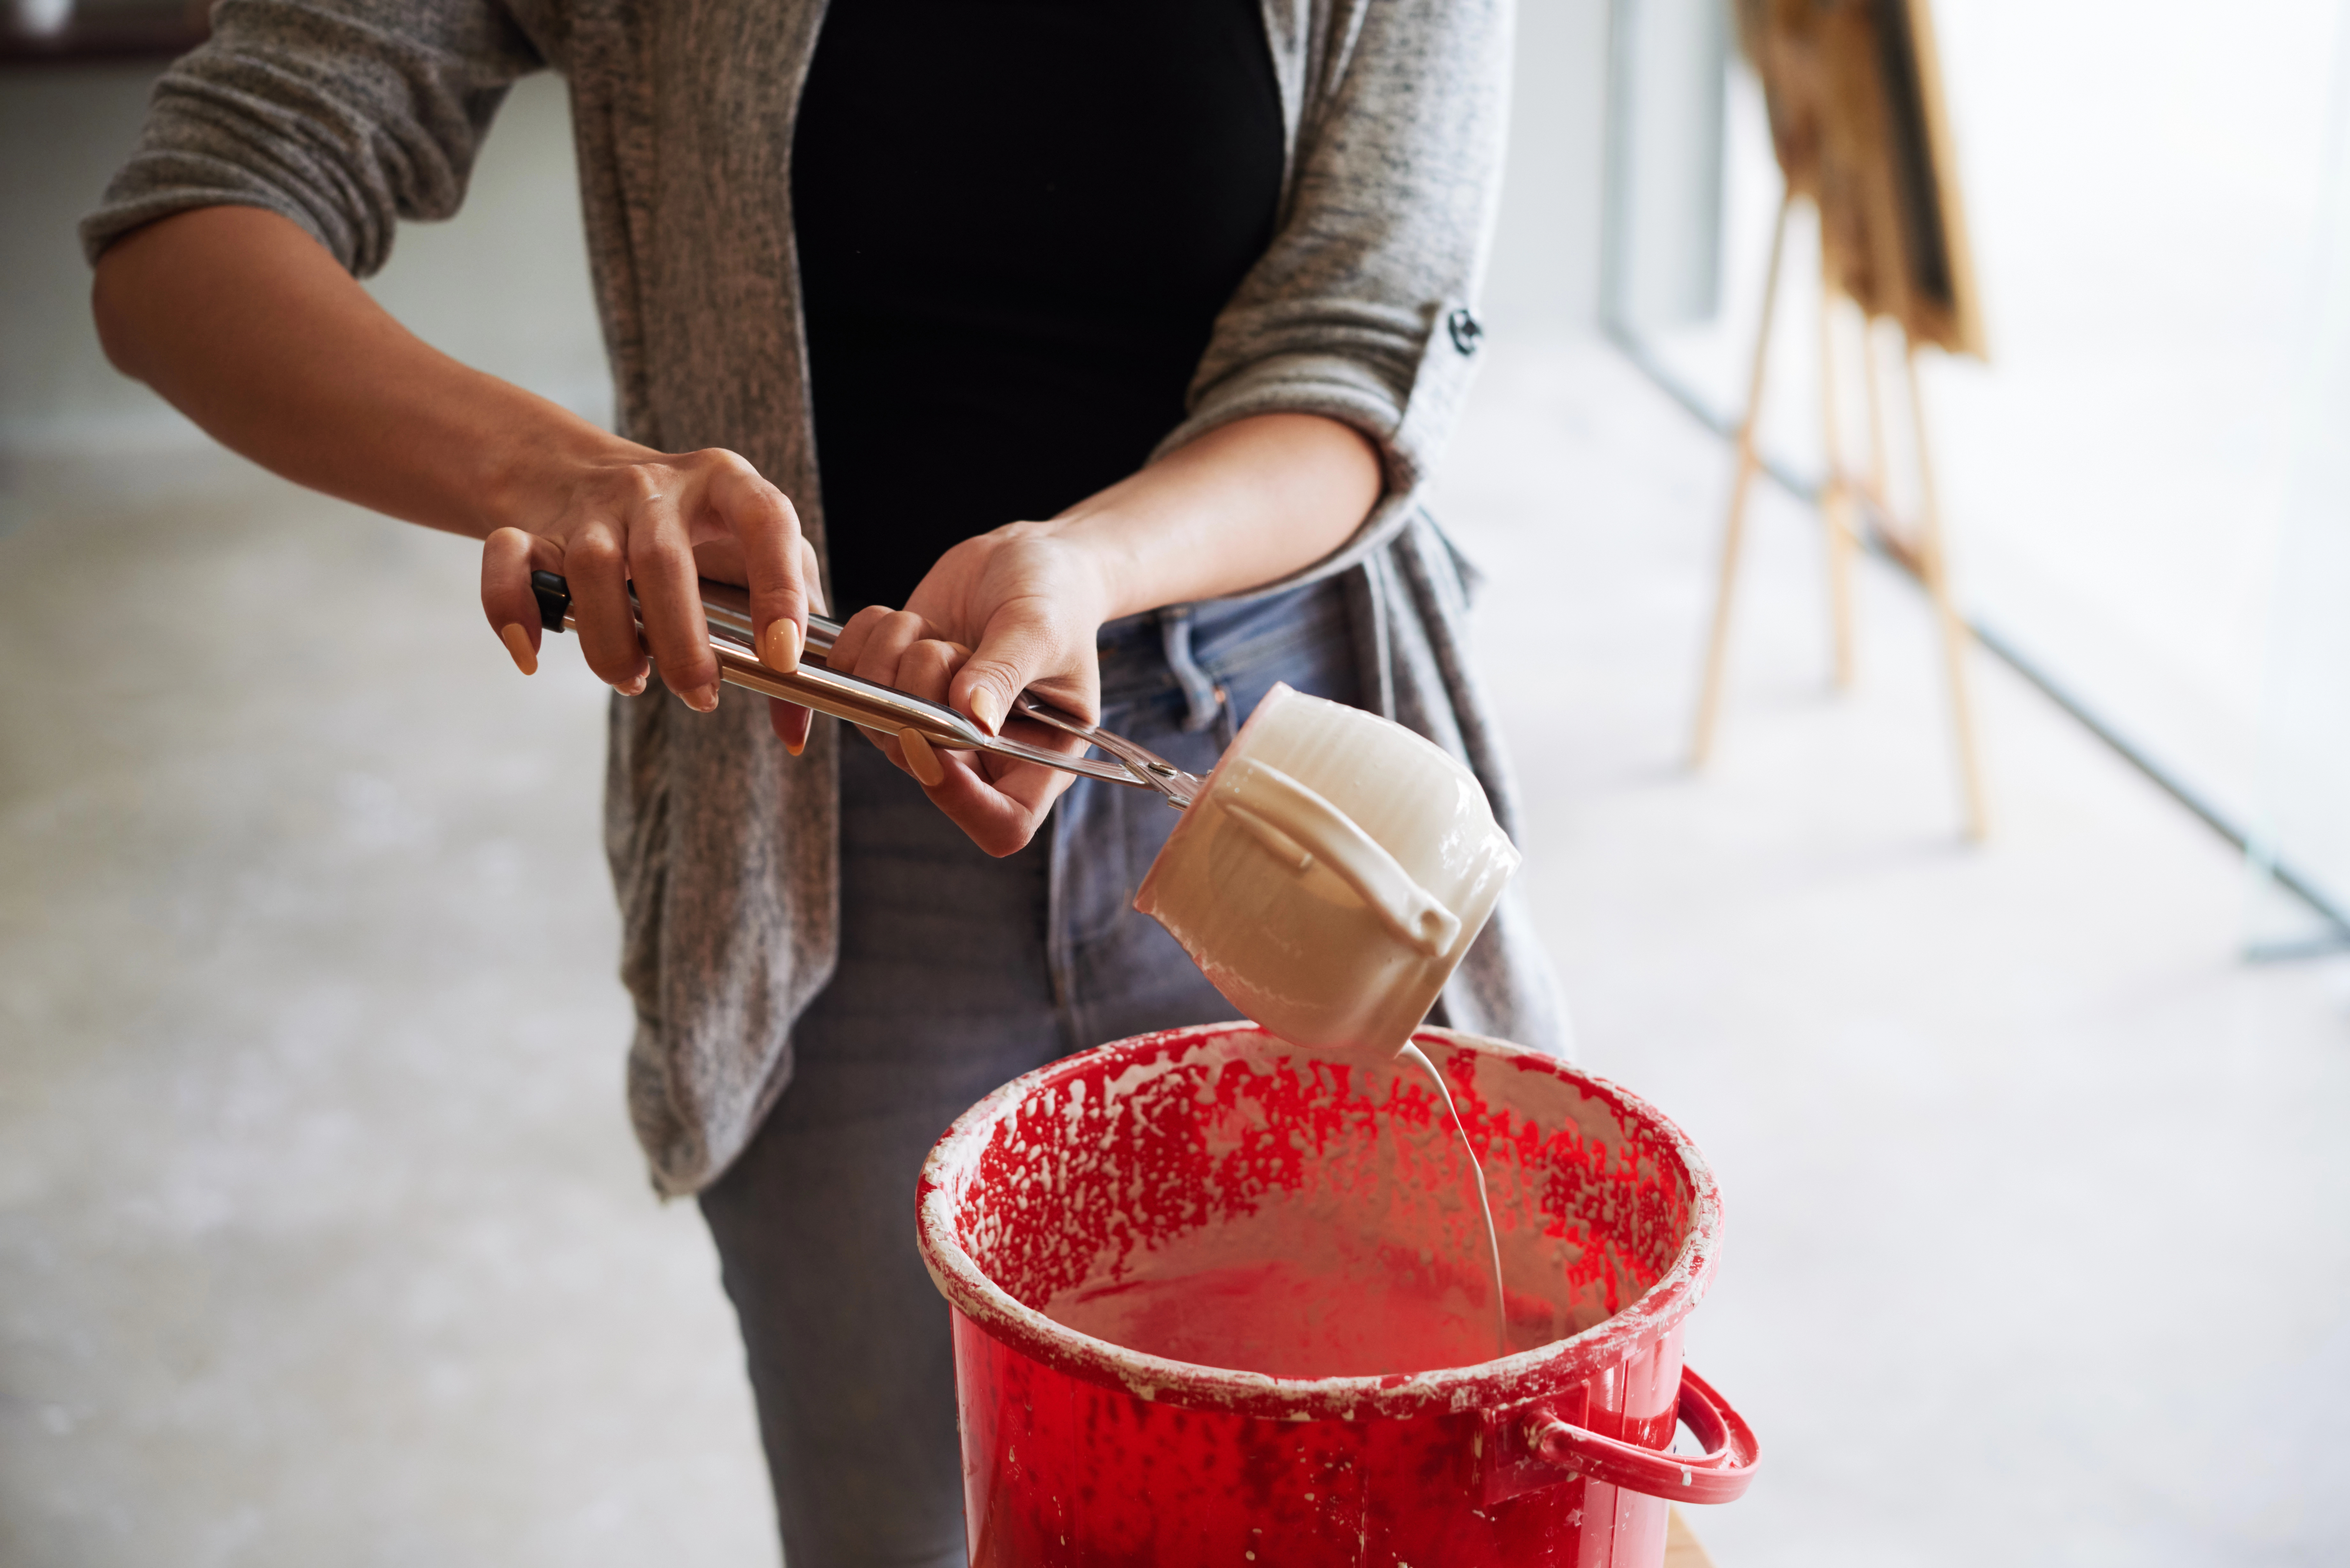
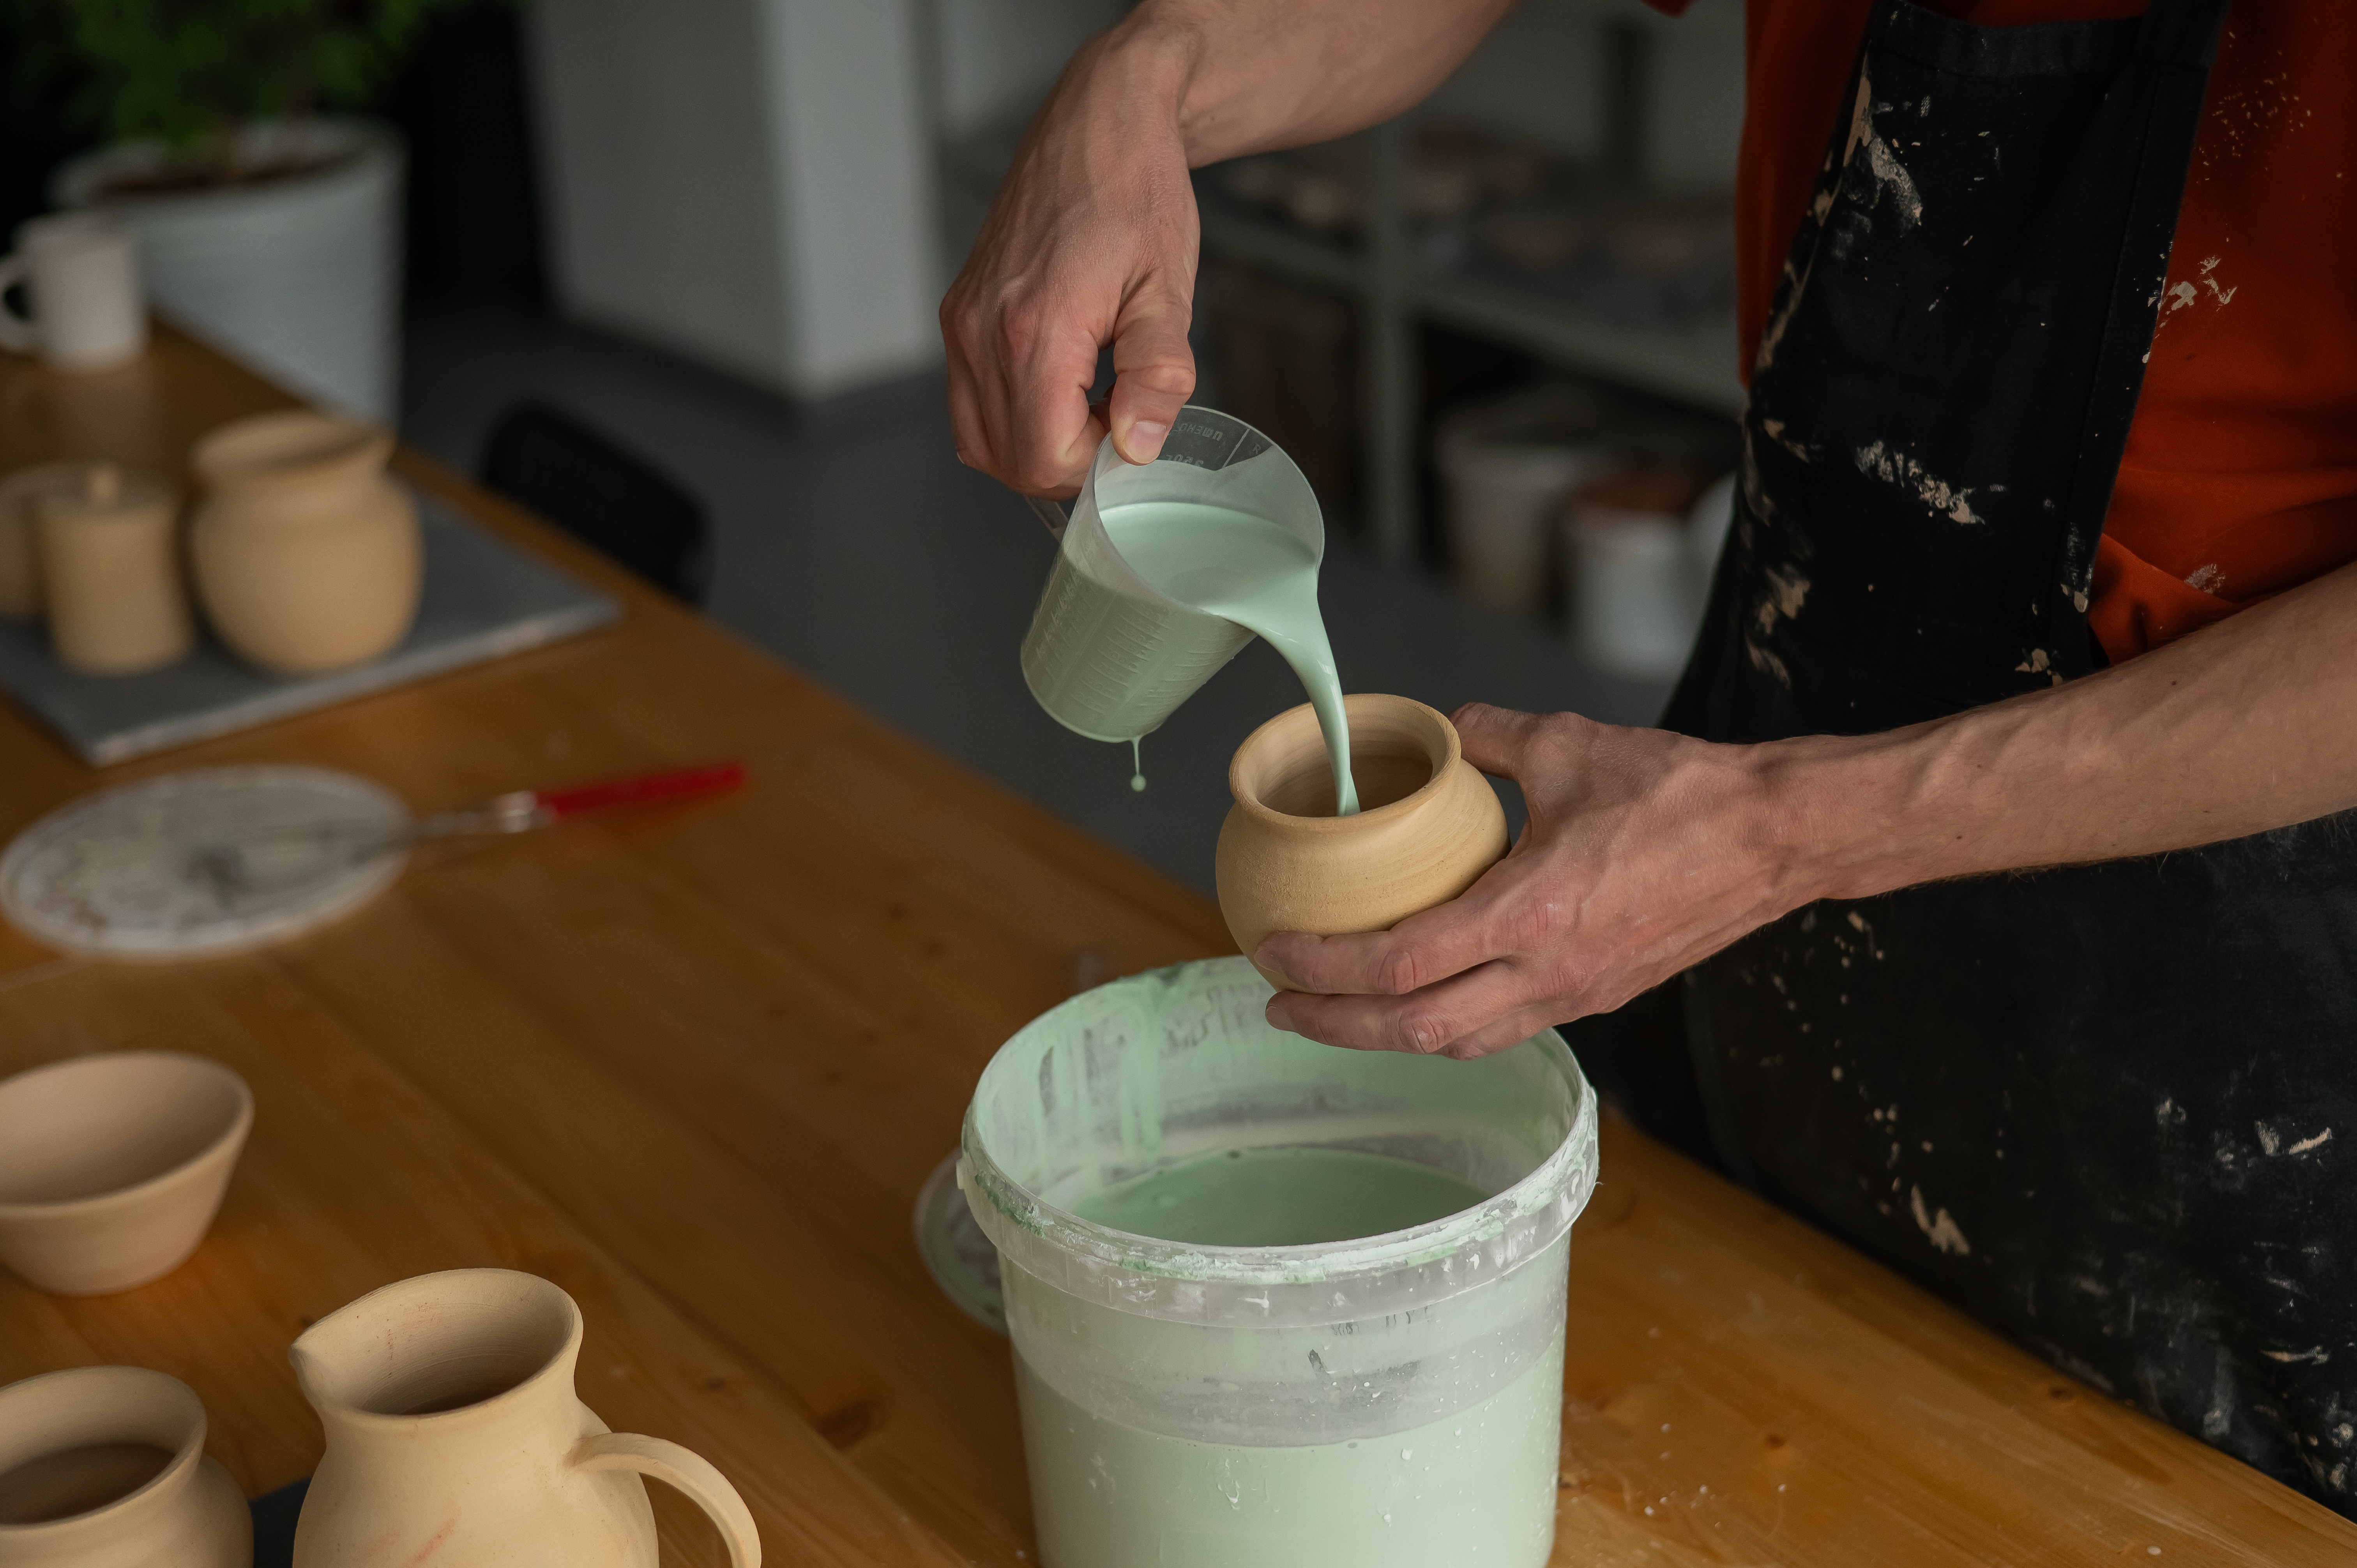
Whether you’re testing a commercial glaze or mixing your own from raw materials, it’s essential to prepare it correctly. If using powdered glaze, mix small batches thoroughly to ensure a smooth consistency. If using ready-mixed glaze, stir well until the silica and colourants are evenly dispersed.
4. Decide on the test and apply
Potters often test a range of techniques, such as single dip vs. double dip, brushing vs. dipping, thin application vs. thick, layering different glazes, or adding oxides or stains. Each test can show something different.
5. Fire the tiles
Fire the tiles according to the glaze’s recommended temperature. Some potters opt to test the same glaze at different cones to see how it changes and shifts.
6. Review, record and repeat
The most critical part of glaze testing is documentation. Every successful potter keeps organised notes of the test in question. Make sure to document everything - your future self will thank you.
What Do Potters Need to Record During Glaze Testing?
Glaze testing is half creativity, half detective work. To make meaningful tests and comparisons, you’ll want to ensure you’re tracking several essential details, such as:
1. Method of application
Are you applying one coat or two? Have you brushed or dipped the glaze? Was the tile bone-dry or bisque-fired? They are all important things to note.
2. Thickness
A thinner application may appear more translucent, while a thicker one may crackle, run, or develop a deeper, richer colour
3. Firing details
Record the firing temperature, ramp speed, soaks or holds and cooling schedule. Even slight differences in all of these can dramatically impact the final result.
4. Clay body
The choice of clay body can influence glaze behaviour. Make sure to note whether you’re using stoneware, earthenware or porcelain.
5. Surface quality
Is the glaze glossy, satin, matte, crawling, pinholing, showing colour breaks or something completely different?
6. Colour outcome
How close is the result to what you expected? What undertones appear? What breaks on the edges?
7. Interactions
If you’ve layered glazes, how do they behave together? Are they blending well, bubbling or running?
Why Consistency Matters in Glaze Testing
Glazing has an element of surprise and joy, yet consistency is the foundation for ensuring reliable results. If your application thickness changes between tests or you mix glazes without weighing materials properly, you may not understand why the final effect differs.
Consistency allows you to identify what changes actually caused a specific result, and avoid surprises in larger kiln loads. It also allows the development and reproduction of reliable formulas and effects. This is important for those looking to sell their work, as knowing your products will fire predictably is key when a sale is on the line.
Trust in your materials is priceless, and consistency can deliver it.
How to Start Glaze Testing as a Beginner
If glaze testing is new to you, there’s a simple way to get started.
- Explore a single glaze: Opt for a powdered glaze or ready-mixed glaze that you’re looking to understand better.
- Prepare six to 10 test tiles: Preparing several tiles from the same clay body that you plan to use in the final project is essential.
- Apply the glaze in different ways: Try single dip, double dip, half-and-half, multiple coats, thin vs. thick, and more.
- Fire all tiles in the same kiln load: This keeps the conditions consistent. As a beginner, this is for the best; however, you can test conditions with more experience.
- Evaluate your results: Place all of your tiles together and compare visual differences. The differences will teach you a lot about your work.
- Repeat with changed variables: Isolate each change to see what it reveals. This could be a new glaze, a different clay body or layered combinations.
Before long, your tests will become a new creative adventure, with each tile telling the story of you developing your craft.
Testing Glaze with Potclays
Whether you’re experimenting for the first time or refining a favoured glaze, Potclays can offer everything you need to make glaze testing rewarding and straightforward. Glaze testing is one of the most satisfying parts of pottery - providing a chance to explore colours, develop style and deepen understanding of clay and heat.
Need guidance in choosing glazes, troubleshooting your results or exploring new options? Our team is always happy to help. Get in touch with us today and start unlocking the full potential of your ceramics.

